Know How to Remove Owner & User Level Password Restrictions From Protected PDF Files
Check below steps to know how PDF Password Remover unlocks Owner and User level restrictions from a protected PDF document and provides you a unrestricted PDF file.
- First download
 software from our website. After a successful download, install and run the software.
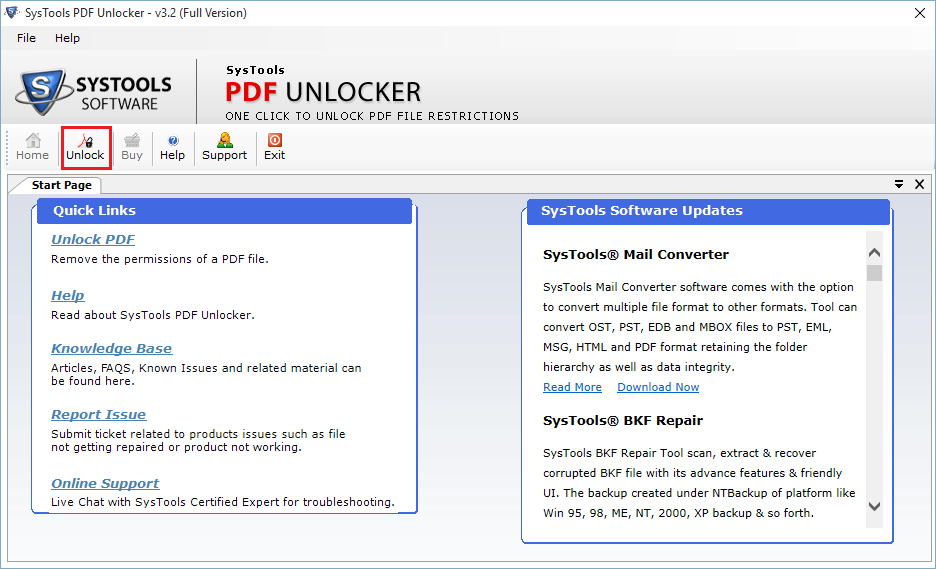
Click on the "Unlock" button to start the process:
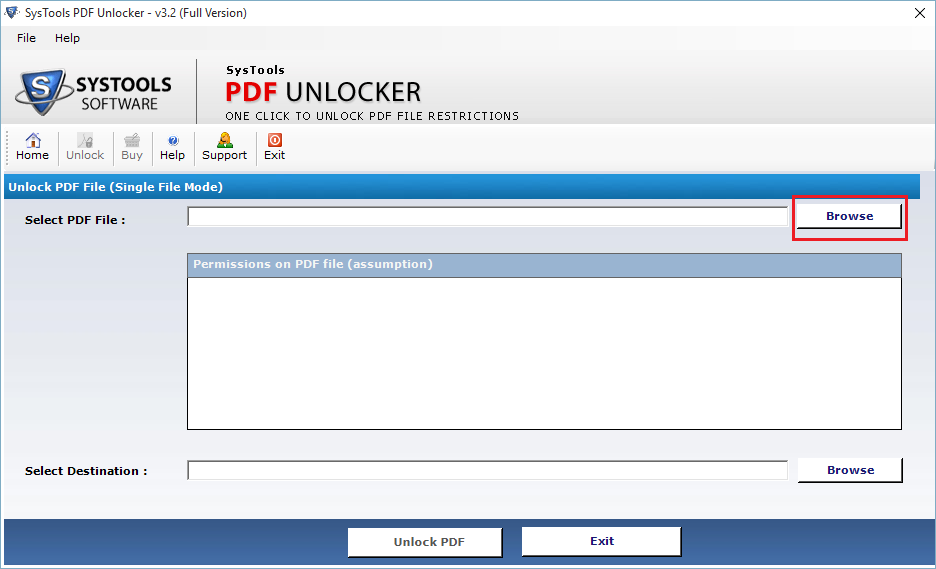
- After clicking on Unlock button you will see "Unlock PDF File" window. Click on the first "Browse" button to choose the file which you want to unlock.
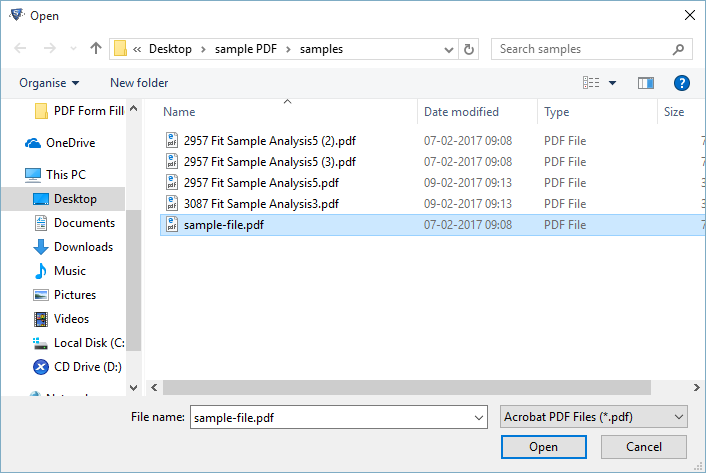
- Select the "PDF" file from the browsed location and then click on "Open" button.
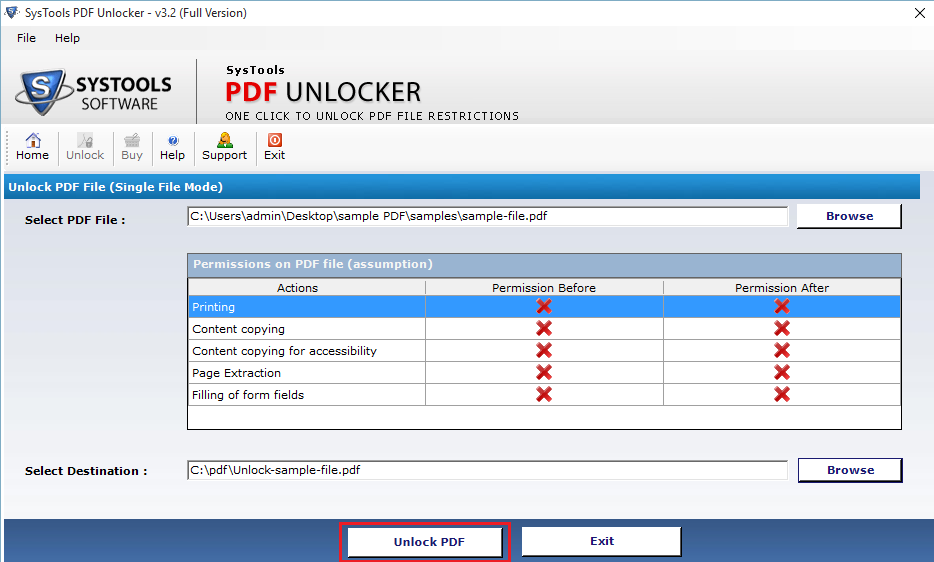
- After uploading the document you will see a list of restrictions 'Before' and 'After' using the software. Click on the second "Browse" button to choose the path where you want to store the unrestricted PDF file.

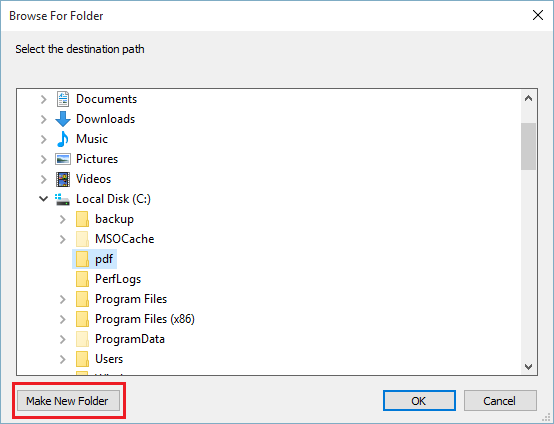
- Select a desired location from the popup window that appears. From here you can choose a valid path where you want to store the unprotected file, also you can make a new folder by clicking on "Make New Folder" button to store the file in it.
- Now to start the process of unlocking, click on the "Unlock PDF" button.
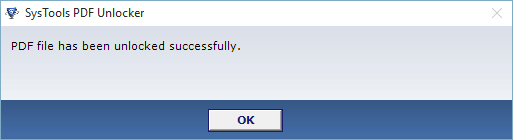
- After a successful process, you will see a popup message that reads: "PDF File has been unlocked successfully".
- After successful unlocking you can now compare restrictions between 'Before' and 'After' using the software.

- To close the software click on "Exit" button, and then click on "Yes" button.